
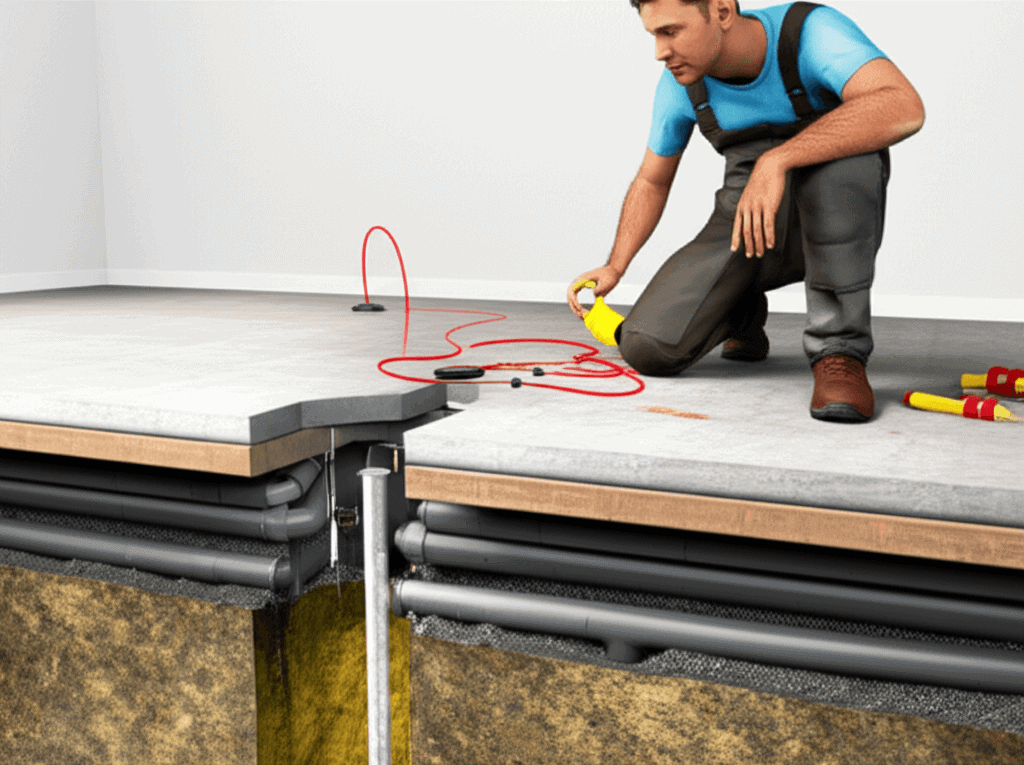
How Slab Leaks Are Found and Fixed
Slab leaks hide under concrete floors where no one expects them, sneaking water into odd places. Pipes beneath the slab can get old, rusty, or crack when the ground moves, causing costly damage if not fixed soon. A weird wet spot, strange smells, or a sudden jump in a water bill often signals trouble below. Once, a buddy spotted a tiny wet patch in his basement, which was actually a small crack under the slab making water leak. Pros use neat tools like listening gadgets and heat cameras to find leaks without breaking floors. People wanting to dodge big repair bills should watch for these signs, because spotting a slab leak fast can save a lot of cash and stress. These insider tips help anyone become a clever detective for hidden water problems before it drains their wallet. Keep reading to learn how to beat these sneaky leaks at their own game.
The goal here is to give you clear, usable information you can use if you suspect a slab leak. I cover detection methods, repair options, cost factors, and tips for choosing a contractor so you can act with confidence instead of guesswork.
What a slab leak looks like and why it matters
A slab leak happens when a water supply pipe under the concrete foundation develops a hole or a crack. Water then migrates through the slab into the structure or soil. Left untreated, it can cause warped flooring, mold, foundation settling, higher water bills and damage to finishes.
- Small leaks that run for weeks can erode soil under a slab and create voids that change how the foundation bears load.
- Even slow leaks raise indoor humidity and give mold a chance to grow in places behind drywall and under flooring.
- Because the damage starts out hidden the repair cost can be mostly driven by how much demolition is needed to access the pipe.
Common signs and how to spot slab leaks early
Some signs are obvious and others are subtle. Early detection limits repair scope and cost. Watch for these clues:
- Unexplained increase in the water bill when routines have not changed
- Warm spots on tile or floor surfaces that are near hot water lines
- Persistent musty odors or visible mold in areas with no clear source
- Soft, buckling, or warped floors especially around the bathroom laundry room or kitchen
- Water pooling around the edges of the slab or in the yard near the foundation
Tip: If you can reproduce the issue by turning faucets and appliances on and off you can narrow whether the leak is inside the slab or in surface plumbing.
How slab leaks are found and fixed
Search methods and repairs vary depending on pipe type age and location. Professionals typically follow a logical path from low impact checks to more invasive steps only when necessary. Here are the most common detection and repair stages used in the field.
Noninvasive detection techniques
Technicians start with methods that minimize damage to the home. These give a good idea of where to focus before breaking concrete.
- Acoustic listening devices pick up the sound of flowing water beneath a slab. Trained technicians can map the general direction of a leak using audio patterns.
- Thermal imaging cameras reveal temperature differences in a floor that indicate warm water moving under a slab. This is especially useful for hot water line leaks.
- Humidity and moisture meters track elevated readings that point to an internal leak zone.
Confirming the location
Once a likely zone is identified crews use targeted pressure tests and tracer gases to narrow the spot. Pressure testing isolates sections of the plumbing to see if they hold or lose pressure. In some cases technicians run a harmless gas into the line and then trace where it exits with a sensor at the slab surface. These steps reduce the concrete removal area to the smallest needed.
Repair options explained with pros and cons
Repair choices depend on pipe material layout and the extent of damage. Here are the main options used by contractors along with practical considerations.
- Pipe rerouting In many homes the least disruptive approach is to abandon the leaking line under the slab and run new lines above the slab through walls or soffits. Pros are limited concrete breaking and a quick return to service. Cons include cosmetic work to hide new lines and possibly longer runs.
- Spot repair by tunneling When the leak is under a limited area crews can tunnel under the slab to repair the pipe directly. This keeps floors intact in most of the home but requires careful excavation and moisture control during work.
- Concrete cutting at the leak For direct repairs teams cut a small patch of slab, replace the pipe and then patch the concrete. This is effective but requires skilled finishing to restore floor surfaces.
- Pipe lining and epoxy In select situations internal pipe lining can seal hairline cracks without digging. The lining is fed through existing access and cures to form a new inner pipe. This option is limited by pipe condition bends and fittings.
Example: A home with copper water lines and a single leak spot under a bathroom often uses a small concrete slab cut to access and solder a new pipe section. A different home with multiple leaks across an older copper network might fare better with rerouting PEX lines above the slab to avoid repeated cuts.
How long repairs take and what they typically cost
Time and cost vary widely. A small targeted slab cut and pipe replacement can take one to two days. Tunneling or rerouting may take several days and bring in additional trades for drywall and flooring repairs.
- Small spot repairs typically fall in the lower price range because demolition and patching is limited
- Tunneling and rerouting add labor and restoration expenses and will appear higher on an estimate
- Pipe relining sits between those extremes but is not an option in all cases
Keep in mind that a thorough inspection and accurate location of the leak reduce surprise costs. Ask for a written estimate that separates detection labor from repair and restoration so you can compare bids clearly.
Practical tips for homeowners before and during repairs
Preparation and communication save time and money. Use these tips to reduce disruption and make the process smoother.
- Document the visible damage and keep photos for insurance or contractor discussions
- Turn off water to the affected area if you can do so safely to limit ongoing damage
- Ask contractors to mark utilities and explain where they will cut or tunnel prior to work
- Request that crews keep a clean workspace and protect unaffected floors and furnishings
- Get several written estimates and compare the scope not just the price to avoid hidden charges
Tip: If you rent or own in a managed community check whether local codes or HOA rules affect how external work is performed near the foundation.
Choosing a reliable slab leak service
Hiring a single contractor for detection and repair simplifies responsibility and communication. When you get a quote ask about the specific methods they plan to use who will perform the work and how they handle restoration. Look for clear explanations of tradeoffs between tunneling rerouting and targeted slab cuts.
Local plumbers who specialize in foundation plumbing will have experience with regional soil types and common pipe layouts. For residents in the Southlake area a local option that lists leak detection and slab repair experience can be a helpful starting point when comparing bids Berkeys slab leak repair service.
Questions to ask and red flags to watch for
Good questions to ask include what detection tools they will use how they will limit concrete removal and which restoration crews they work with. A reliable contractor will offer a clear plan timeline and a warranty on the repair and any new piping materials.
- Red flag no written estimate or a vague scope that leaves restoration open ended
- Red flag pressure to sign immediately without time to compare options
- Red flag refusal to provide references or past examples of similar slab repairs
Slab leaks are one of those home problems that reward quick focused action. With the right detection techniques you can locate the source with minimal demolition. With the right repair approach you can fix the leak while keeping restoration costs reasonable. Armed with the signs to watch for the questions to ask and the repair choices available you will be in a better position to get the job done correctly and get your home back to normal.
Conclusion
Slab leaks pose a hidden threat to any home with water lines under a concrete foundation. Recognizing the signs early and choosing targeted detection methods reduces disruption and helps contain repair costs. Acoustic listening thermal imaging pressure testing and tracer gases are common noninvasive tools that point crews to the right location. From there options range from a small slab cut to direct pipe repair to tunneling and rerouting lines above the slab. Each option carries tradeoffs in time cost and restoration work. A practical approach is to evaluate estimates by the scope of work not just the bottom line and to ask for written warranties on pipework and any excavation.
If you suspect a slab leak take basic steps that limit damage such as documenting visible issues and shutting off water if safe to do so. Then contact a specialist who can perform a careful inspection and explain your options. Quick action often lowers the total repair bill and stops secondary damage like mold and structural settlement. Schedule an inspection and compare a few estimates to pick a pathway that fits your home and budget. Your home’s foundation is not the place for guesswork; get a clear plan and move forward with confidence.